Instead of focusing on curing people after they get sick, Dr. Christian Schrock, a Twin Cities epidemiologist and infectious-disease consultant, has spent his 45-year career trying to keep people from getting sick in the first place.
To that end, he's a strong advocate for everyone wearing a mask when out in public during the pandemic.
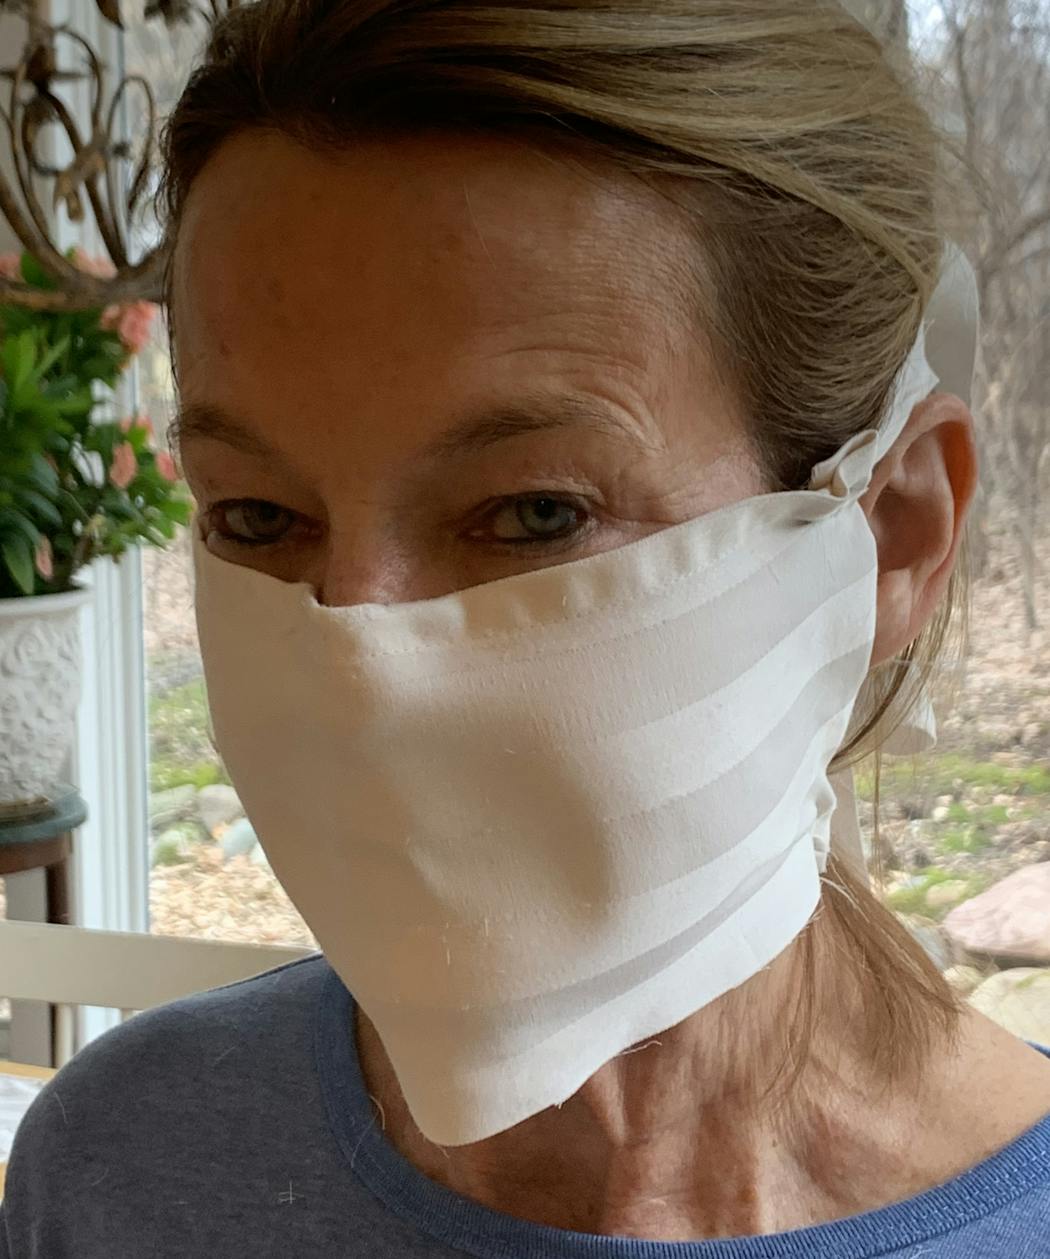
With a shortage of masks for sale, Schrock and his wife, Mary, have designed a no-sew face mask that simulates a surgical mask, including a nose pinch and a bottom tie that fits the contours of your face. It can be made in about 10 minutes from materials you likely already have.
Here's their step-by-step guide.
What you need
Clean flat bed sheet with side hems (100% cotton, tight weave)
A pair of scissors
Measuring tape (or 8½-by-11-inch piece of paper to approximate)
Large paper clip (or other malleable metal strip like floral wire or pipe cleaner)
Safety pins (or stapler)
Note: A queen-size flat sheet makes 20 to 24 masks.
Step 1: Prepare the mask
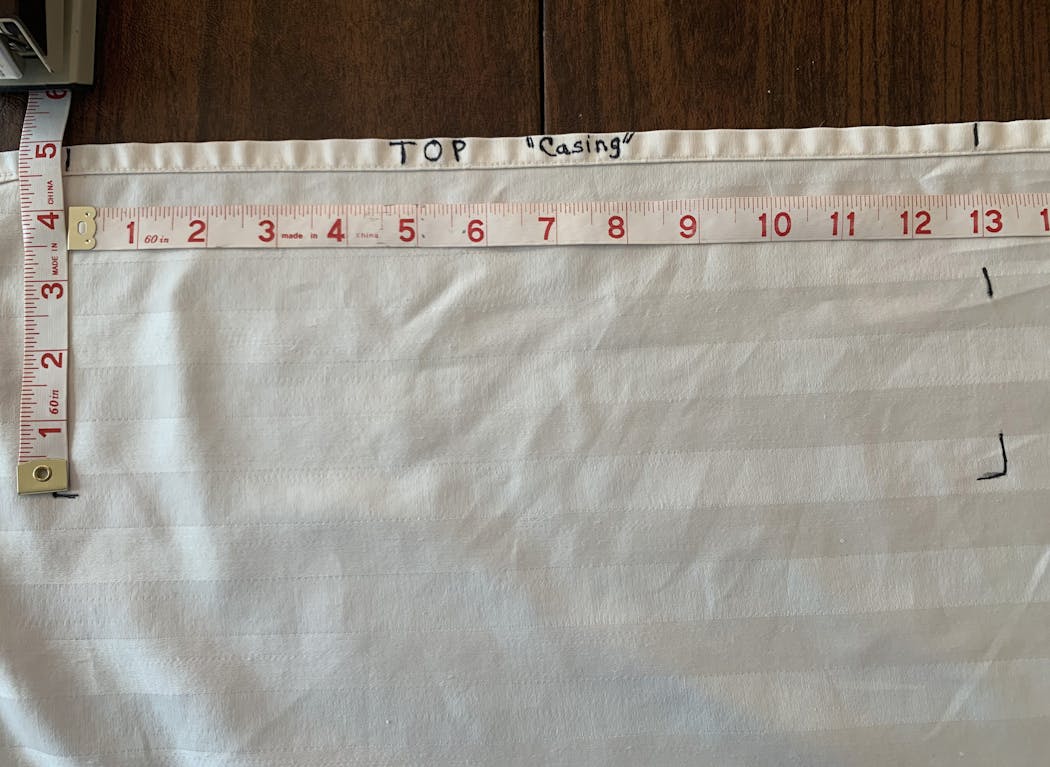
Lay your clean sheet on a surface so the side hem (the small folded part) is exposed. This hem will provide a cloth tunnel (casing) to insert the "nose pinch." Measure and mark 13 inches on the hem side and 5 inches perpendicular.
Cut the fabric. It should measure 13 by 5 inches.
Step 2: Cut the ties
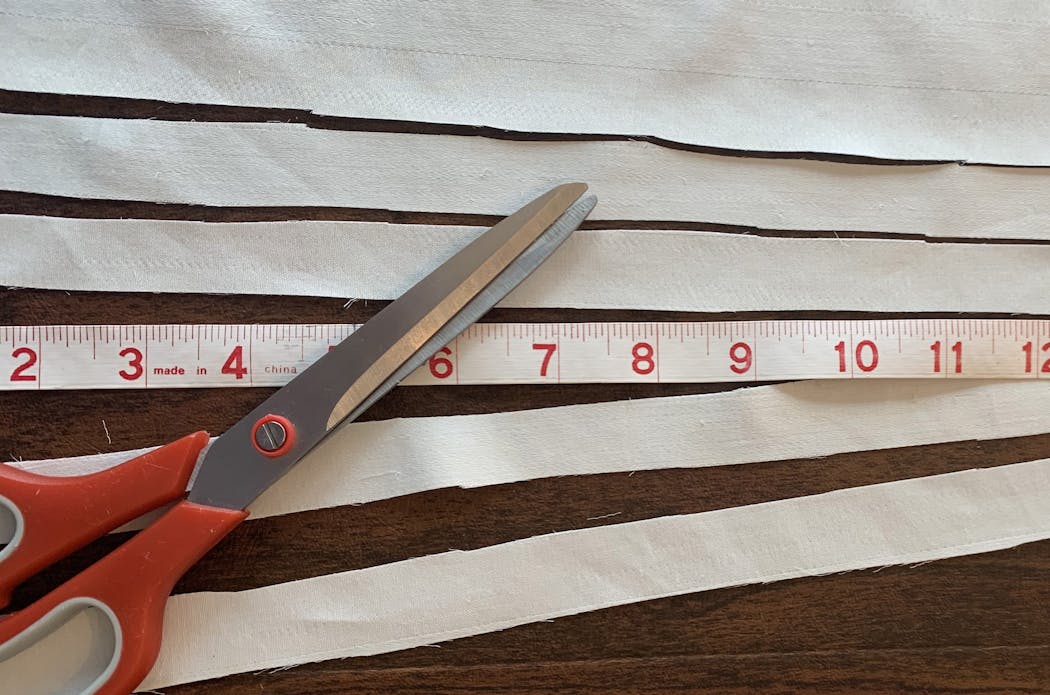
Measure, then cut four 1/2-inch by 17-inch strips from the sheet interior. Consider cutting extra ties since they don't have finished edges and you may want to replace them. You can cut more durable ties from finished edges, but that will reduce the number of masks you can make from one sheet.
Step 3: Make the nose pinch
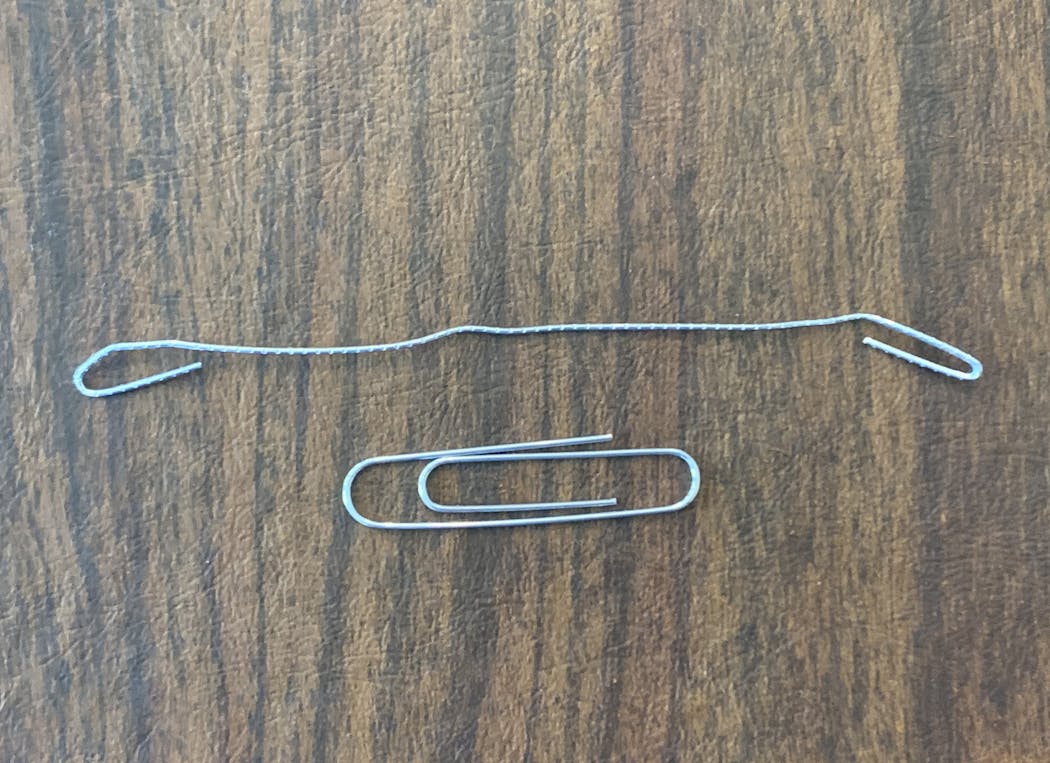
Straighten a large paper clip, then fold in the ends to minimize sharp edges.
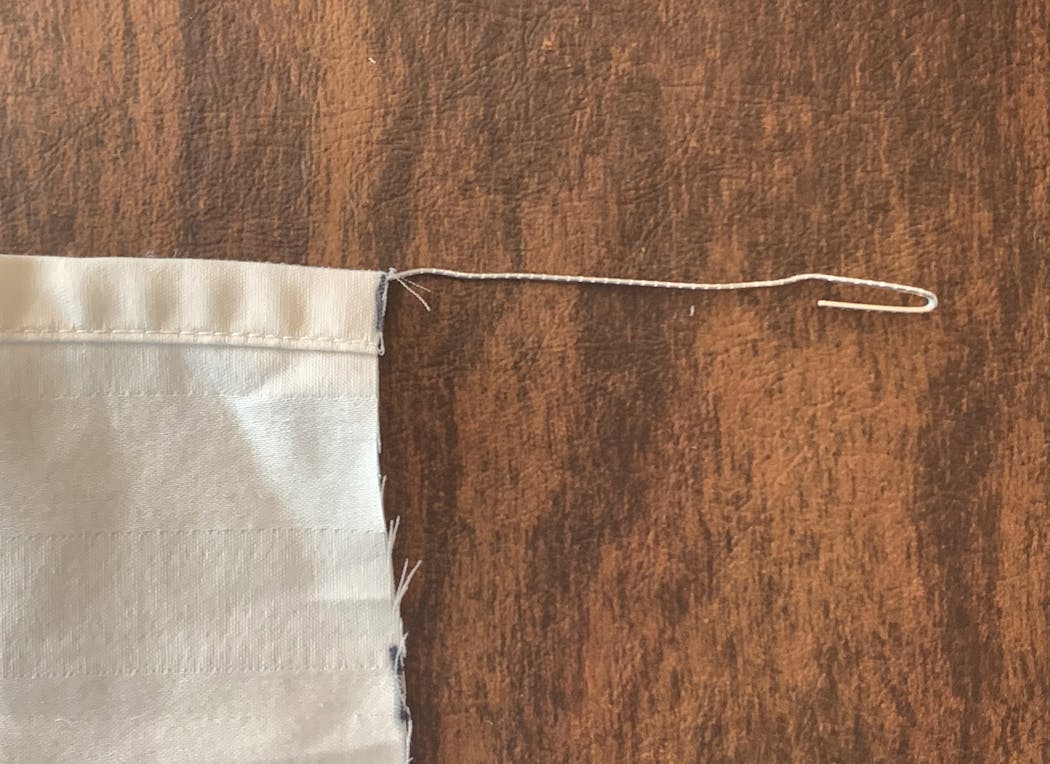
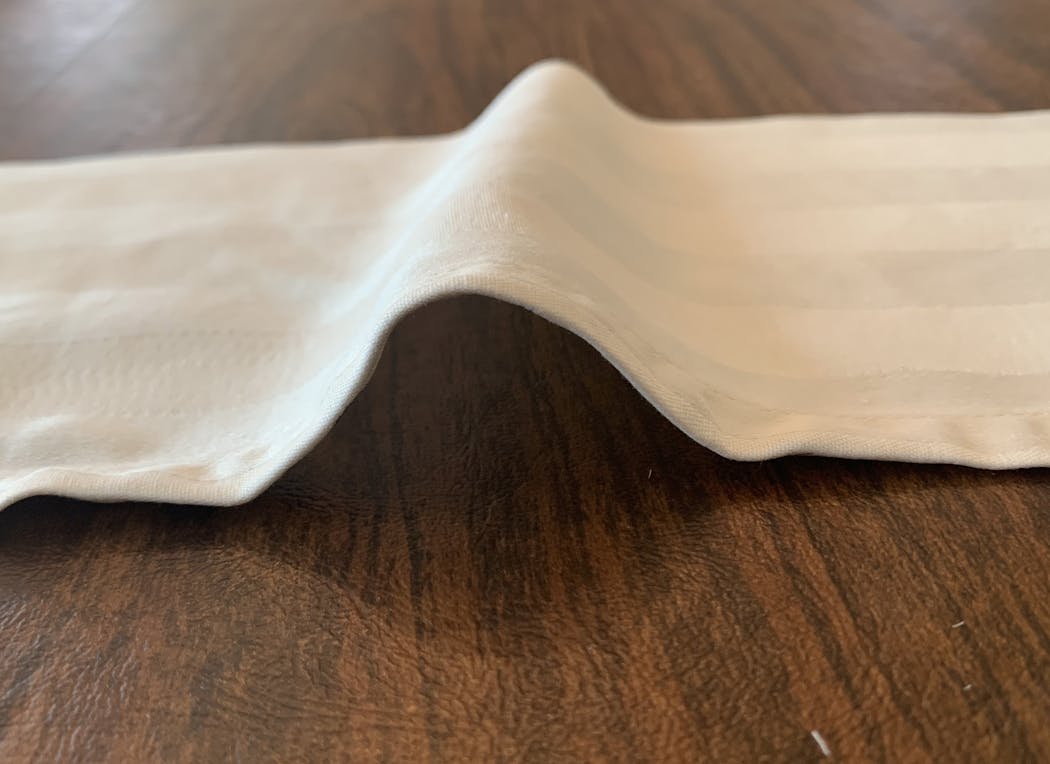
Insert the paper clip into the finished edge of the fabric.
Position the nose pinch in the center of the cloth tunnel. Once in place, hold the mask up to the bridge of your nose and mold it in place along your cheekbones to prevent air leaks.
Step 4: Attach the ties
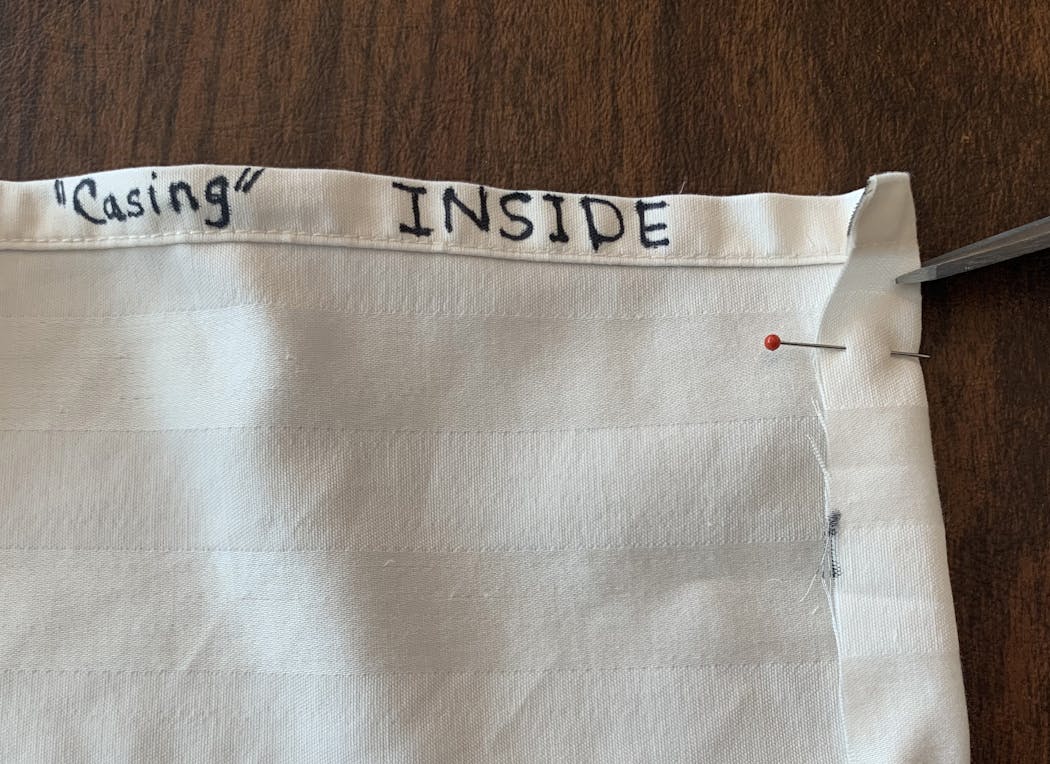
Lay the mask on the table with the inside of the mask facing you. Fold the short side in, forming a 1/2-inch fold. Make a very small snip about 1/2 inch from the top and another 1/2 inch from the bottom.
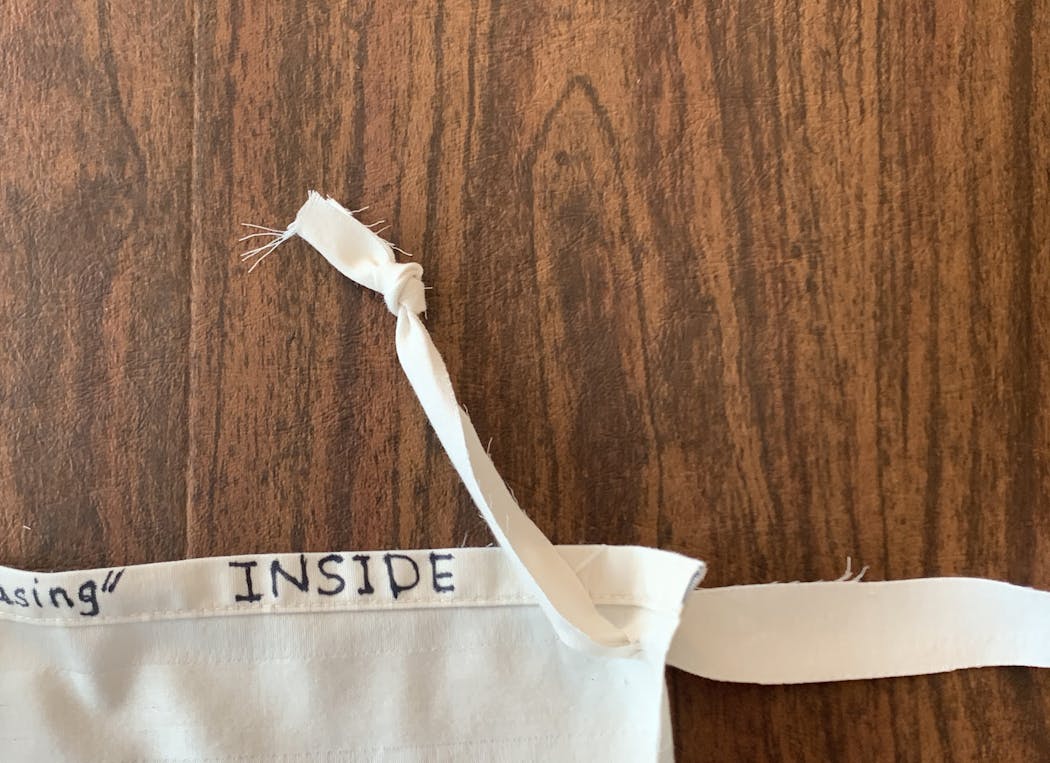
Insert the tie in the hole you've created. Knot one end, leaving a short "tail" to be attached via safety pin or staples. Repeat this step in each of the four corners.
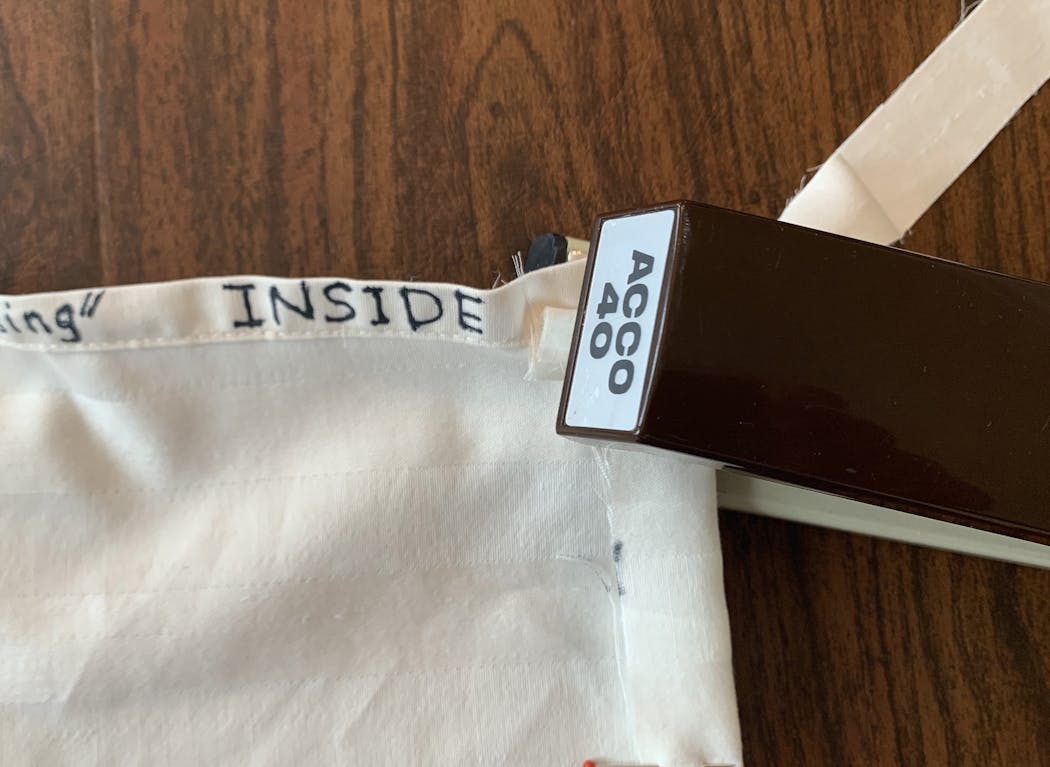
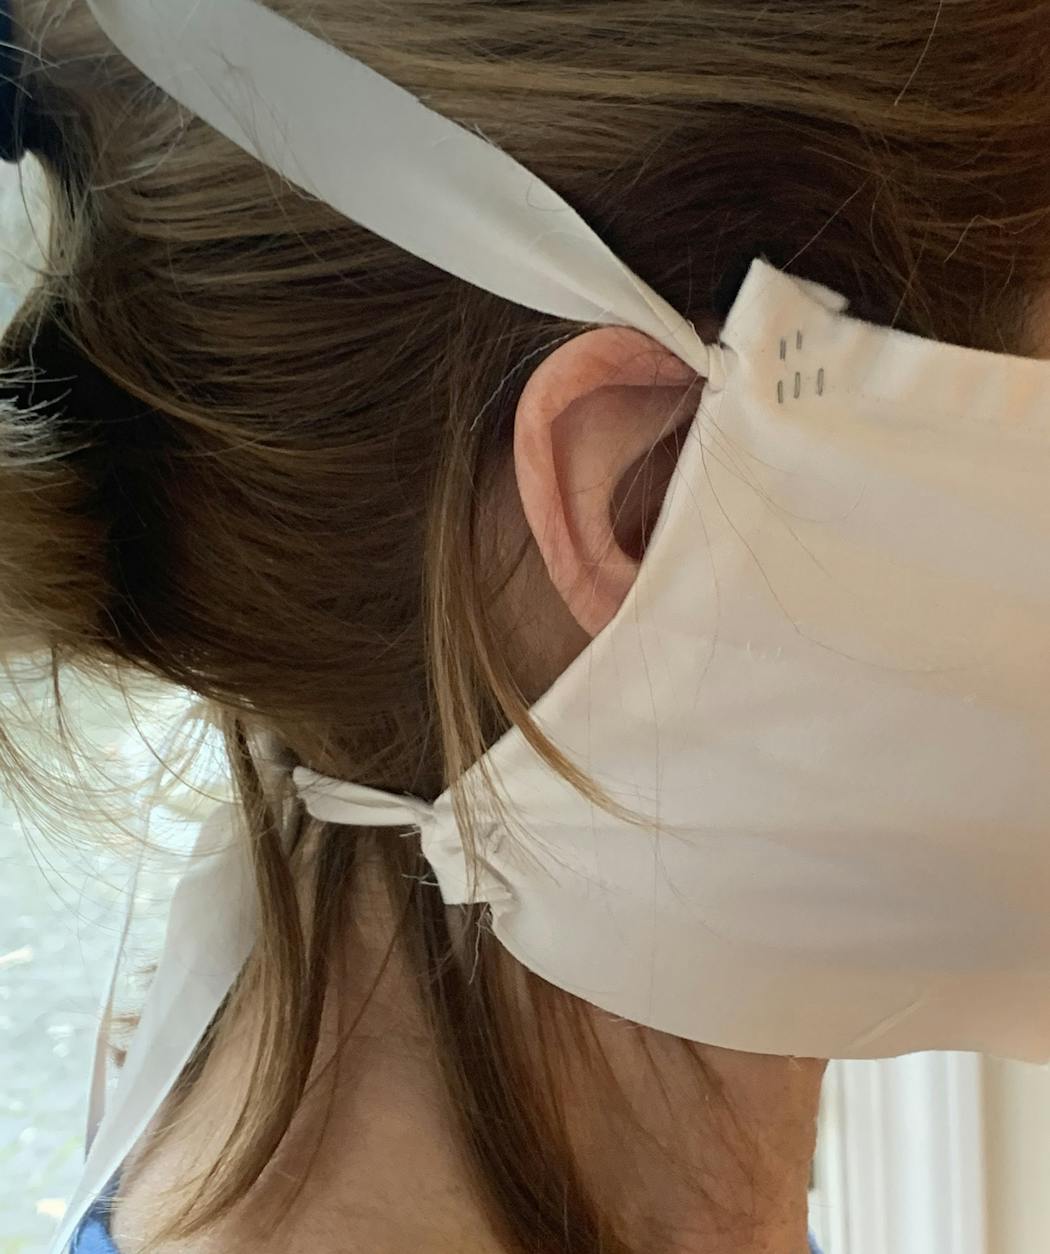
If you are using a stapler: Fold the hem over the knotted tail and staple it. Then staple the tail of the knot to secure it in place. Ensure that the flat side of the staple is on the inside of the mask.
If you are using safety pins:
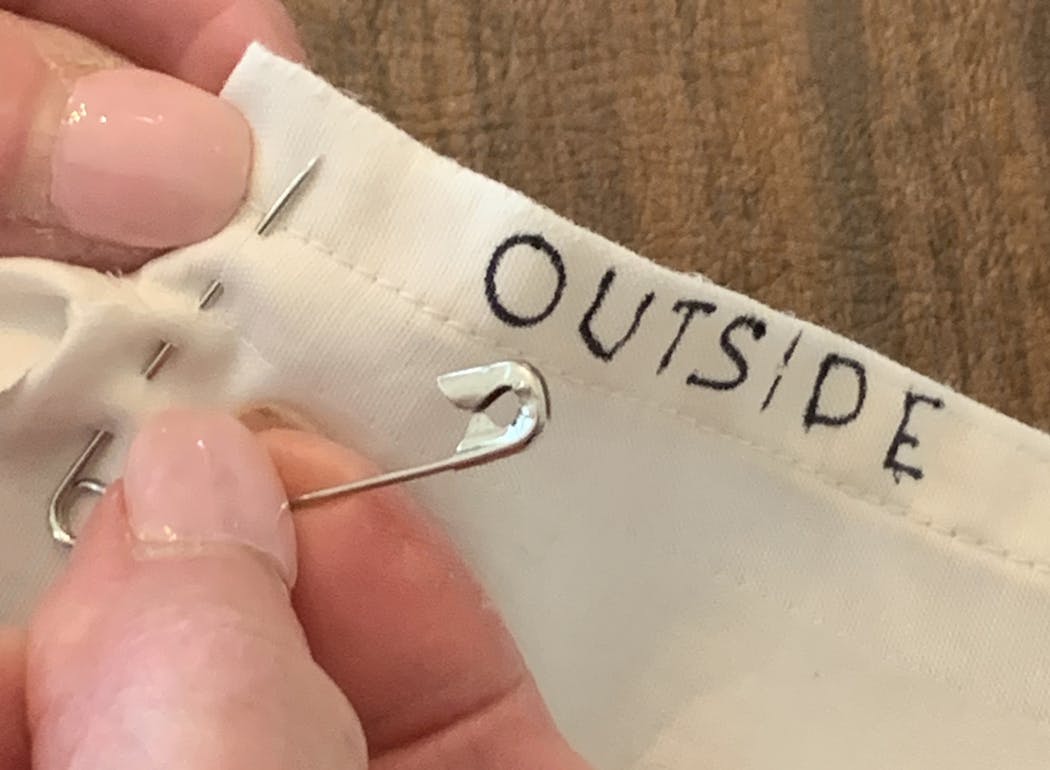
Knot optional. Thread the safety pin through the tie and the mask face securely from the outside. Repeat this step on the other three ties.
Step 5: Tying your mask
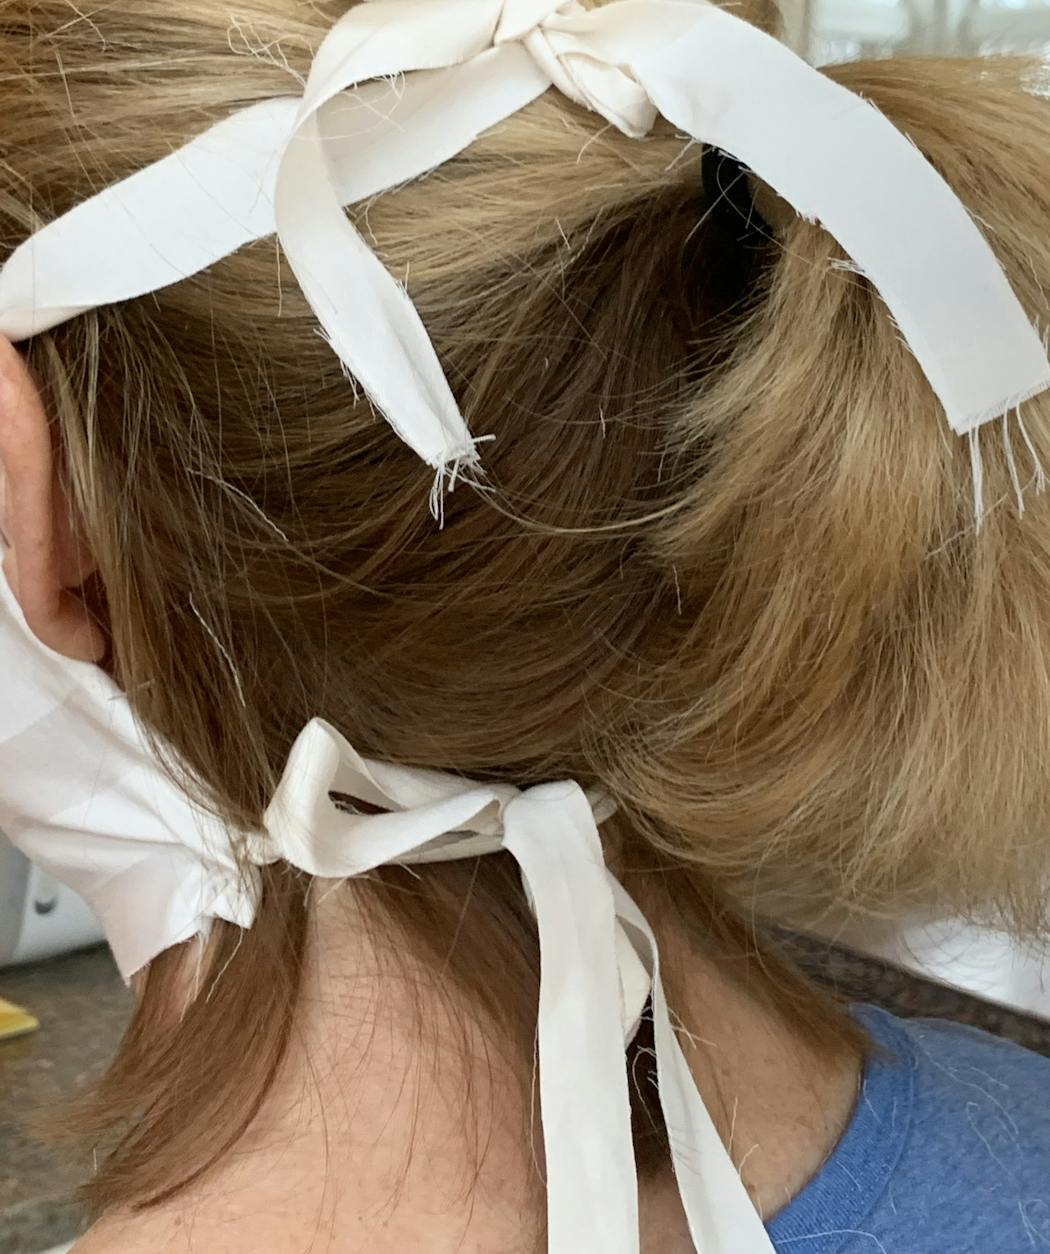
The top of the mask with the nose pinch should be tied snugly toward the top of the head.
The bottom tie should be tied snugly below the hairline around the neck.
The nose pinch should fit securely.
For more information: including a video of this process, go to maskbuilders.com or wearamask.com.

Want to share info with the Star Tribune? How to do it securely

'Safe recovery sites' would offer syringes, naloxone and more to people using drugs. The plan could be in peril.
New Minnesota GOP leaders seek peace with party's anti-establishment wing

Who is Republican Lisa Demuth, Minnesota's first House speaker of color?

